Have you ever wanted to redo a Gundam kit? If you have an older kit that you think you could rebuild better the second time around, there’s a way to hit the “undo” button. Let Gunpla 101 contributor Nick walk you through the process of reassembling an old kit and converting it into a blank slate so you can rebuild it anew, no new kit purchase required.
It may not feel this way, but you’re getting better at building Gunpla all the time.
Each time you build a kit, you level up your skills. From straight building a kit, to panel lining, to waterslide decals, to topcoating, you’re amassing quite the arsenal of techniques. The oldest kit you’ve built can’t hold a candle to the latest one you’ve completed.
During my first year in this hobby, I noticed that my skills were significantly better at the end of than at the start. And now, there was an itch that I wanted to scratch: I wanted to paint. Here’s the problem: I had already built a bunch of P-Bandai Master Grades and a few pricey Perfect Grades that I really didn’t want to buy again! How could I remove all the work I did and get back to a blank canvas?
Today, I’ll show you how.

Oh, The Plastics You’ll See!
I’m going to demonstrate my refresh method with a kit whose design I really like, the HG Elpeo Ple’s Qubeley from Gundam ZZ. Originally, I finished this with a spray-on top coat but I was a little heavy handed, and I knew I could do better. So I needed to strip that off.
The chemicals we use to strip the paint/topcoat have to do with the types of plastic used in the kit. Brace yourself ‘cause we’re going to science class.
If you look at your manual, one of the first things you’ll see is a list of all the runners and what type of plastic it is. Primarily you’re going to see three types of plastic in your Gunpla:
- Polystyrene (PS) which is the main type you’re going to see in modern kits and in the outer armor in older kits. We want to see PS when we’re stripping paint and topcoat because it can stand up to 91% isopropyl alcohol (IPA) which is what I like to use because it doesn’t affect PS plastic and it eats a lot of paints we use really easily.
- Polyethylene (PE) which we are not going to worry about because PE is for the flexible polycaps which make your HGs and older MGs/PGs saggy and droopy after a few years. Don’t paint polycaps; they’re flexible and will not hold onto paint.
- Acrylonitrile Butadiene Styrene (ABS) which you will normally see in modern kits as clear parts like eyes or Unicorn psychoframes.

In our case with the Qubeley, there isn’t any ABS so we don’t have to worry about it now. However I’ve had terrible things happen with ABS and isopropyl alcohol.
What about 70% IPA or even 99% IPA? In my experience, 70% and 90% are pretty similar to the paint removal powers of 91% IPA. The 70% takes a little longer to work and the 99% is prohibitively expensive and doesn’t work any faster or better. Just stick with 91% IPA.
Some Disassembly Required
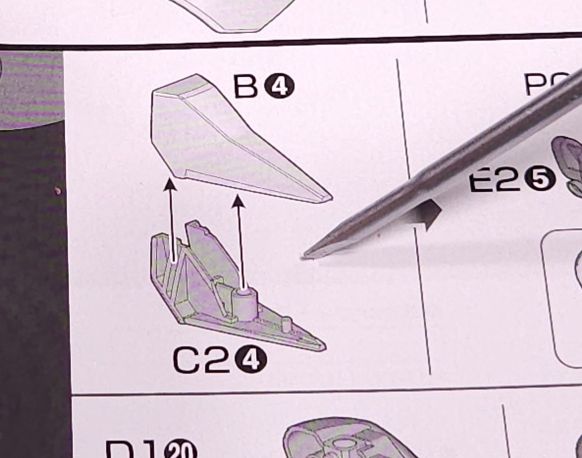
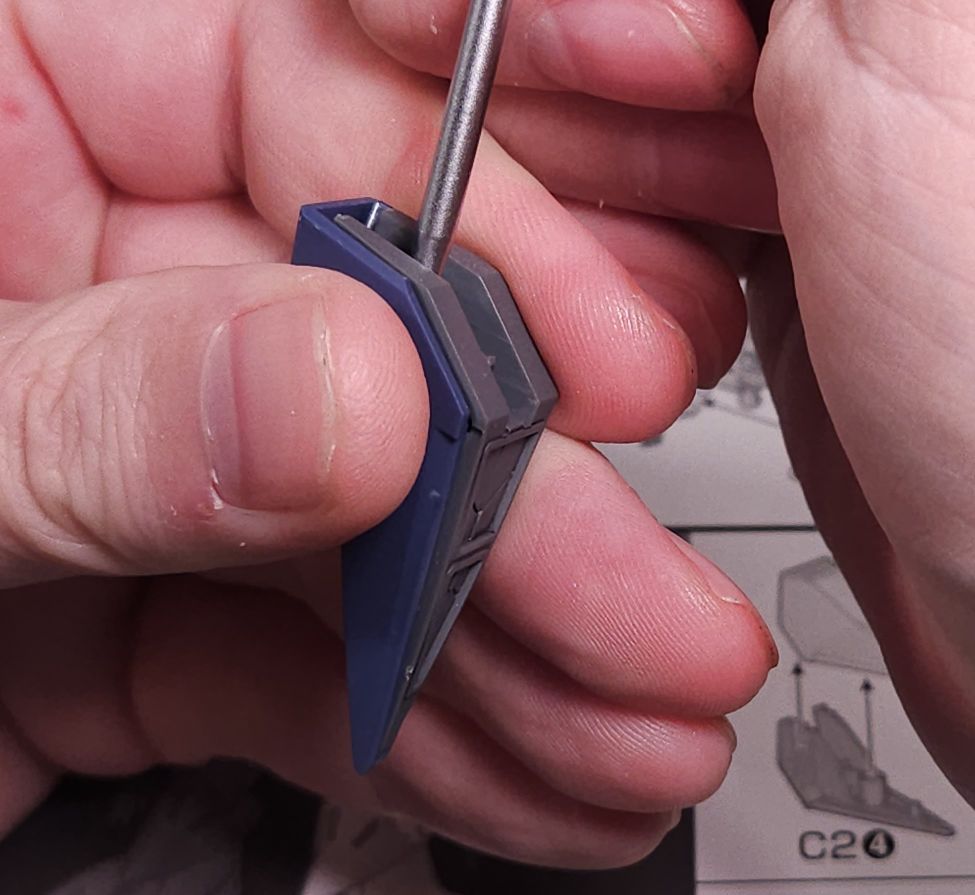
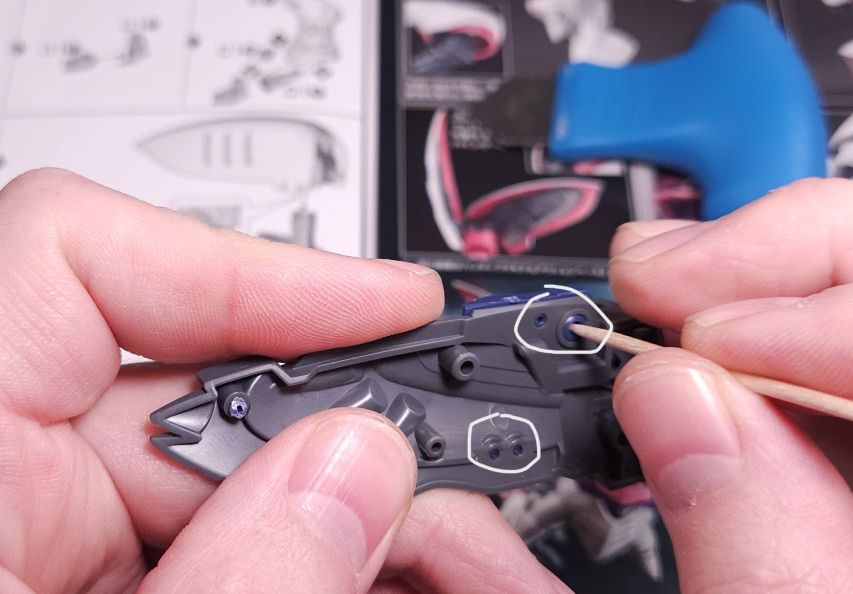
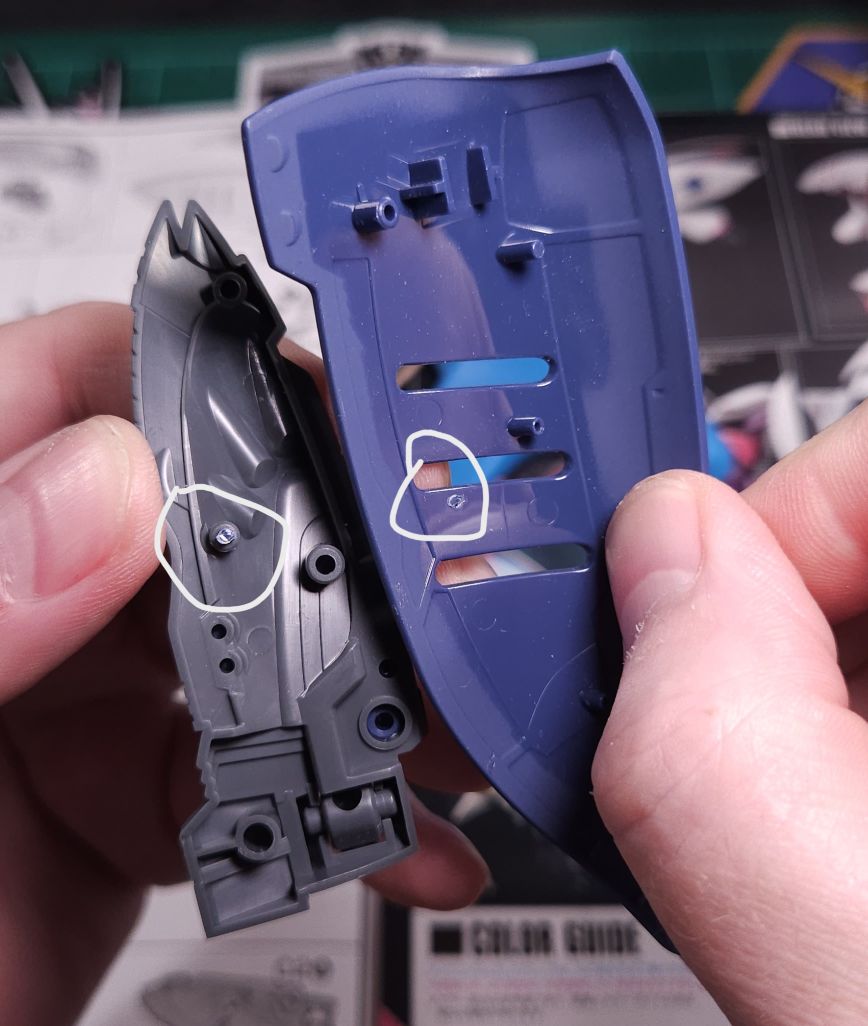
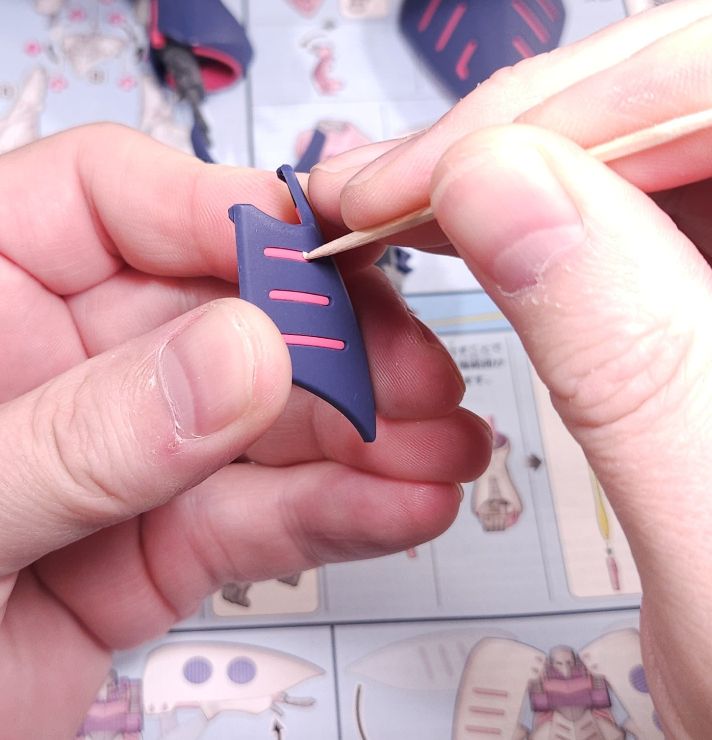
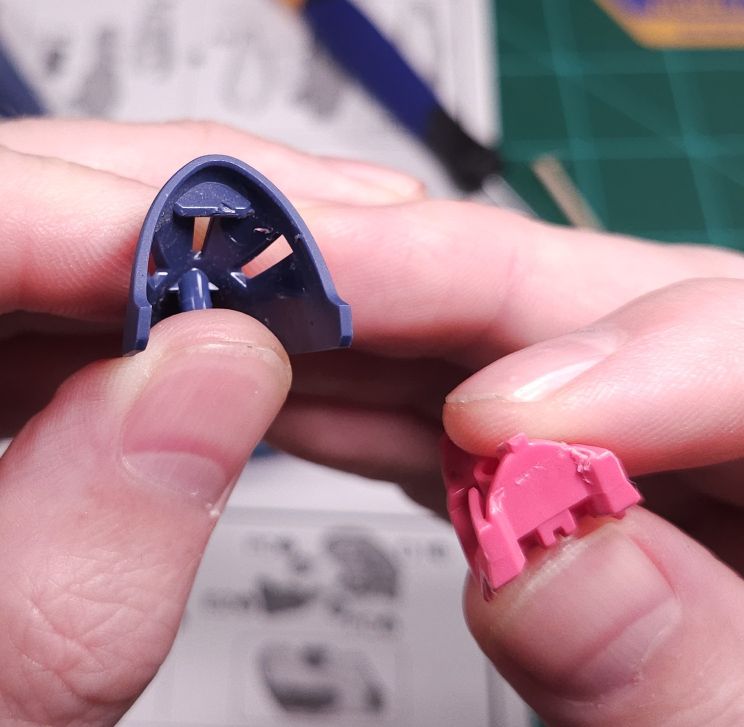
We can’t just strip the paint and everything with a fully built kit, so we have to pull an early 2000s Marvel Comics and disassemble it all. It’s basically just following the manual in reverse, and being slow and careful with your tools. I used a parts separator, toothpicks, and in some small instances a pair of needlenose pliers.
One tool that you can get for free and has a whole host of usage cases is a standard tourniquet that is used when you get blood drawn. If you work at a hospital or have a friend who does, get some tourniquets. If you need extra grippiness for pulling stubborn parts apart, opening stuck paint jars, or disassembling your airbrush, they will help immensely.


One thing to remember: you’re undoing the work you did to put the parts together, so it’s inevitable that you’ll mar, dent or otherwise break your parts. Once you’re through, look over your parts and resand them or break out your plastic cement to fix what’s broken. Such is the risk we take.


I like to keep the parts separated by body part, but I know some builders like to have parts separated by color. I’ve been slowly creeping that way and just trusting that I can read the manual to differentiate different parts when I paint.

Family-Friendly Stripping
We don’t have any paint to strip off with this Qubeley, we just have a lacquer topcoat and panel lining. Panel lining is usually so thin that if there’s some left on the kit, I’ll paint over it. Any decals should come off with the IPA, but if you used Mark Softer you’re going to have to sand the decals off. There are no decals here so we won’t worry about it.

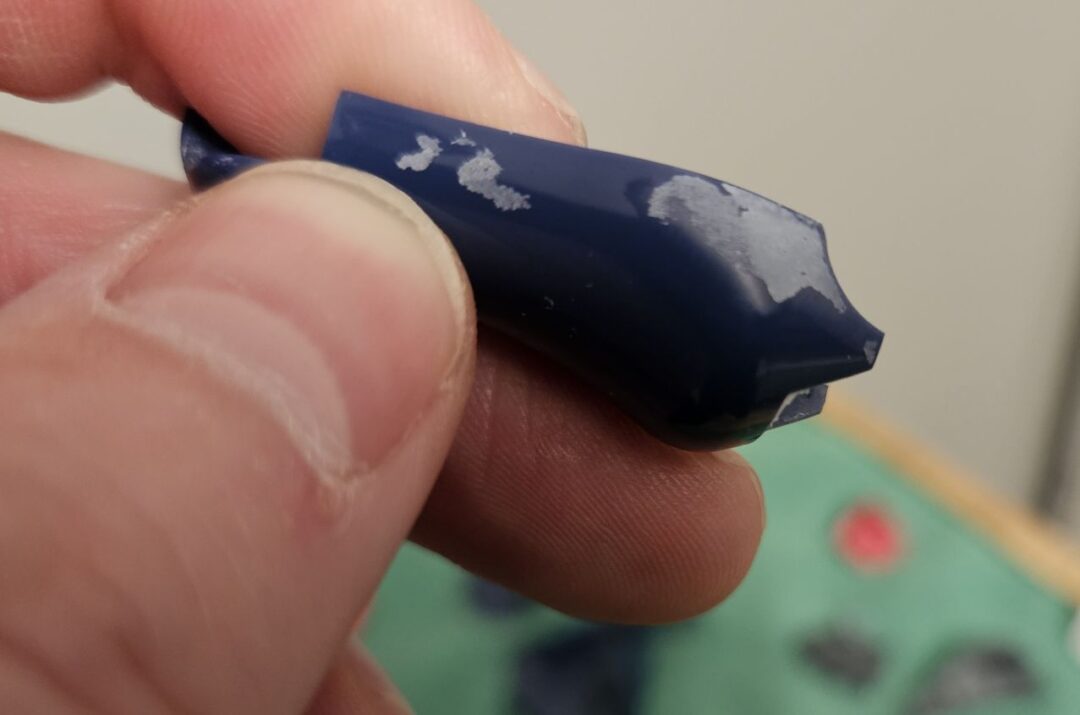
Another reason this is more difficult to get clean than a painted kit: it’s not easy to see your progress removing a nearly invisible substance. We’re going to have to rely on some good lighting to make sure we’re getting all the topcoat off, and there are several steps to make sure there is no residue left over. When we dunk our parts, the IPA dissolves the lacquer and the residual bits don’t disappear into the void. If you don’t wash the parts thoroughly in hot water right afterwards—and I mean immediately afterwards because IPA evaporates so fast—you’ll leave dissolved bits of lacquer all over the parts.


I have a few different methods I’d like to demonstrate as far as the rinsing goes. And because I am terribly lazy efficient, I let the chemicals do most of the work.
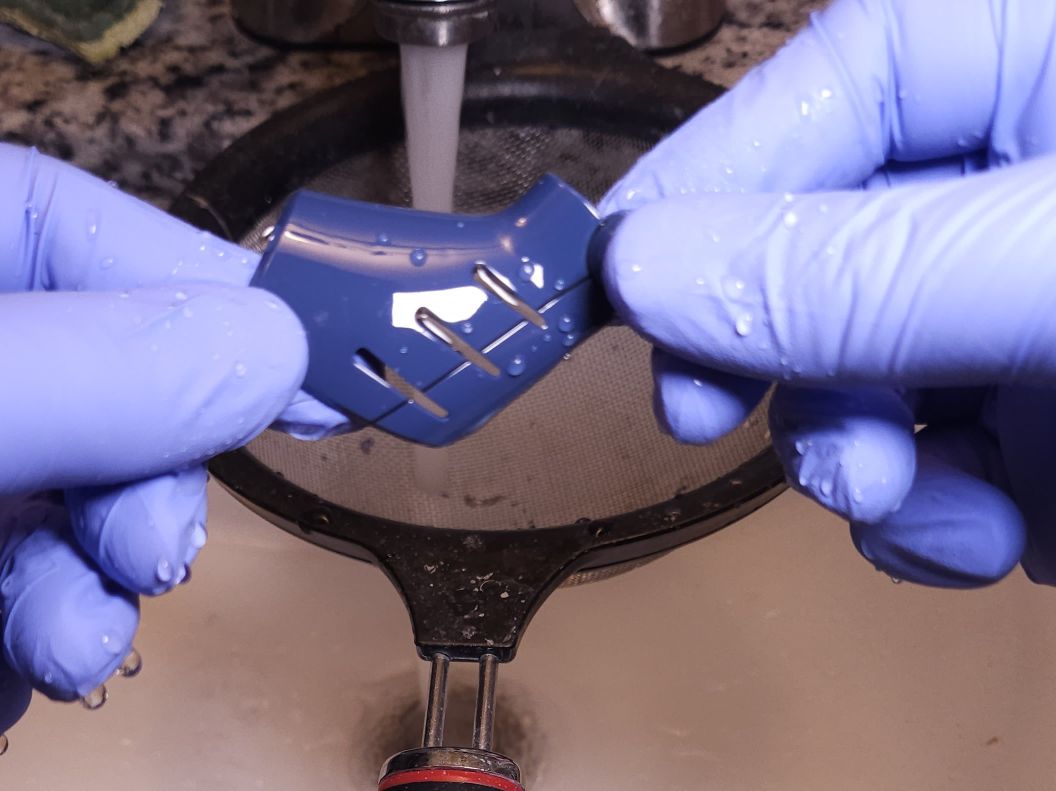
I tried multiple methods including rinsing with hot soapy water, but none of them worked as well as soaking the part for one hour in the IPA, followed by an immediate hot water rinse and scrubbing with an old manual toothbrush or electric toothbrush.


As you can see from the previous series of pictures, the hazy residue isn’t firmly attached to the plastic, so a good scrub with a toothbrush or in my case an old ultrasonic toothbrush will dislodge it. Another quick rinse in water and our parts should be good to go.
I have a cheap ultrasonic cleaner that I mainly use for cleaning my airbrushes but it also works a treat for cleaning the parts. If you decide to go this route, make sure you turn off the heat function. Especially if you’re cleaning ABS parts. Ask me how I know.

What I’ve found works well is a 1 hour soak in 91% IPA in the ultrasonic, followed by an immediate hot water wash through a fine mesh strainer. Then I change out the old IPA with fresh IPA and do it again. When I can see in the light’s glare that there’s no residue left (it’ll be harder to see on lighter parts than on darker parts), I know the process is complete.
Drying Right
I like to use an old salad spinner with a dish towel inside to get as much of the rinse water off of the parts. If I leave them to only air dry, they will more than likely leave water spots and we need our parts to be as clean as possible when we go to paint them.

Once you’re satisfied with the cleanliness of your parts, it’s time to paint and detail. Making sure you have a good base to start your work is so important, especially with today’s… economic uncertainty. I hope this has helped give you the ideas to remaster and refresh your collection!
Nick has been building and customizing Gunpla for 5 years, learning and failing and learning some more. He braves the Alabama heat with his spouse and two reptilian kids. When not building Gunpla he fights for the working class and consumes enough caffeine to take down a small bison. Follow along on Instagram and Bluesky.
Discover more from Gunpla 101
Subscribe to get the latest posts sent to your email.